Editor's Introduction: This week's column from Ctein, a continuation of last week's, outlines the technique needed for a procedure we don't necessarily recommend. Ctein's purpose in these columns is a) to help people who are trying this as well as b) to perhaps persuade them not to try. And, as you might understand, sometimes reading about even difficult and non-optimal technique can be interesting for its own sake. —MJ
By Ctein
Two weeks back I wrote about the gradual demise of dedicated film scanners and how that might make it increasingly difficult if not impossible to conveniently scan film photographs for digital printing in the future. Many readers expressed interest in the idea of using a good digital camera in lieu of a dedicated film scanner; a few had even tried.
Doing this really well requires knowledge and skill. If you don't care about doing it really well, and many of you don't (for good reasons, I do understand) then don't even bother. A flatbed scanner, even one a generation old, is going to do this better and a lot more conveniently. Mail-order outfits that charge circa a dollar a scan will easily beat your thrown-together rig.
Now, on to camera and lens resolution concerns.
The actual resolution of a digital camera is only about half that of the pixel count. For example, a 24-megapixel camera will produce approximately 2800 x 4200 pixels worth of resolution (assuming a 2:3 format, just for the sake of conversation). Thirty-five millimeter film is about an inch wide [film width, not frame width, ignoring perforations —Ed.], so you ought to be able to get 2400 PPI worth of "scan" resolution out of that, if you're doing everything right. Many people find that quite satisfactory. I don't, but I'm not normal people. If you pride yourself on the sharpness of your film originals and have spent good money for really good glass, you may find that you won't be either.
For larger film formats, a single camera exposure isn't likely to cut it, regardless of which camera you own. In that case, or if you own a lower pixel count camera, or if you're looking for better than merely adequate quality, you're going to be looking at stitching. Assuming you've properly addressed the alignment and illumination-uniformity issues I raised last column, this will not present a problem.
Now we come to the matter of the lens. You cannot use just any old lens for this purpose and expect to get good sharpness corner-to-corner. You need a lens that's designed to deliver flat-field coverage with uniformly high image quality at the magnification you need. If you're working copying sheet film with a less-than-full-frame digital camera, the best solution is any top of the line enlarging lens, reverse mounted. Don't know which ones are really the best? Download a copy of my book Post Exposure, which includes my list of the very best enlarging lenses ever made, so good that they're visually flawless. Search the web for a used one; with the collapse of the darkoom business, you can often find some amazing bargains.
Any of these lenses will work well down to about 1:5 magnification. Below that, things get iffy. 1:1 magnification is really the worst situation to be in; hardly any lenses perform well there unless they've been designed specifically for that magnification. Ken Werner found that of all the general purpose enlarging lenses, the Schneider Componon-S 50mm ƒ/2.8 was the best of the lot at 1:1, but it's still not great. When you're getting down in the low magnification range, you'll get better results with a lens designed for that. That would be the Rodagon D series lenses. The 120mm version is optimized for 1:2 or 1:3 magnification; the 75mm for 1:1.
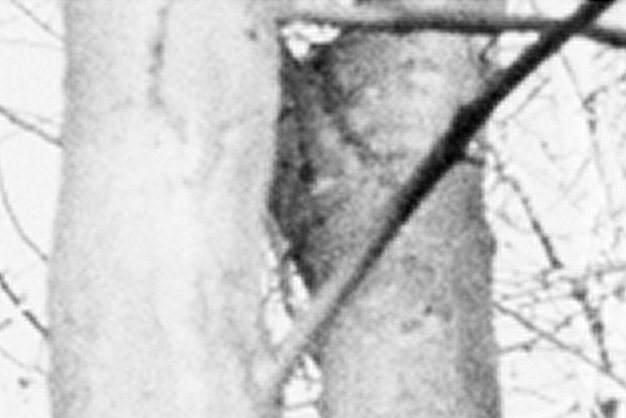
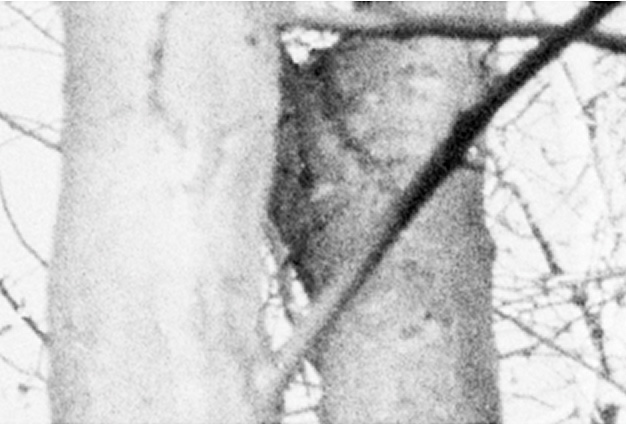
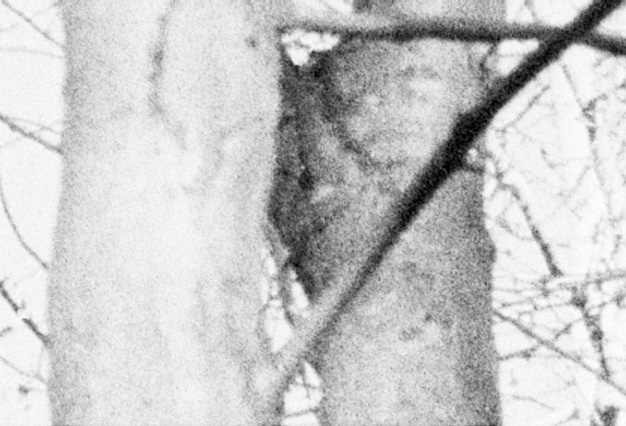
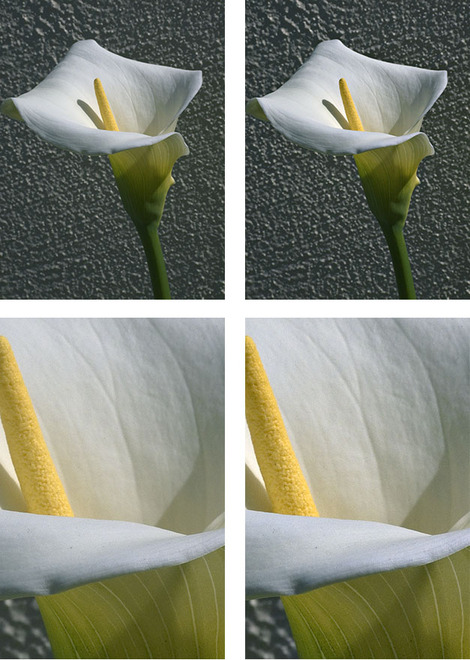
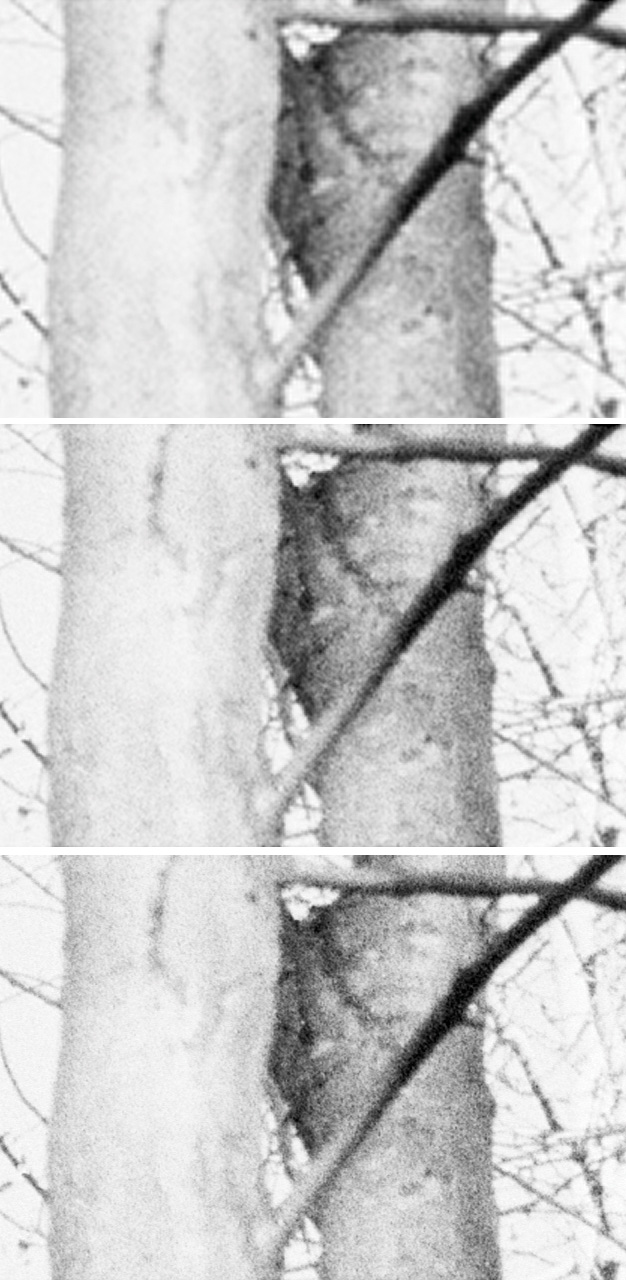 This is TMAX100 film, scanned at 1200, 2400, and 4800 ppi. Observe that the film grain is still visible, although mushy even at 1200 ppi. Just because you can see grain in your scans doesn't mean they're sharp. Click on the image here to see it at 100%; the auto-resizing of TOP's blog
software masks some of the differences.
Don't imagine that you can stop your lens way down and get around its deficiencies. This is one of those cases where you really do want to be working near the optimum aperture of your lens or you'll be losing sharpness. Just because you're seeing film grain in your camera-scans doesn't mean you've got a sharp image. Film grain behaves like noise, which means it doesn't average out at low resolutions. It just gets big and mushy and lower in contrast. You can see the film grain of fine-grained film in a 1200 PPI scan; it just looks horrible, like looking at a print made with a really, really cheap enlarging lens, badly focused (see illustration above).
Well, that's everything I can think of for now. This is what you should be prepared to deal with if you want to do camera-scanning of your film and get results that are much better than you could get with an ordinary flatbed scanner. As I said at the beginning, you may not care about that or need that. That's cool; go live a happy life. But if you want really good quality scans, this is how to do it right.
Ctein
Ctein's regular disquisition on quality occurs at an approximate interval value of "Wednesday."
Send this post to a friend
Please help support TOP by patronizing our sponsors B&H Photo and Amazon
Note: Links in this post may be to our affiliates; sales through affiliate links may benefit this site. More...
Original contents copyright 2011 by Michael C. Johnston and/or the bylined author. All Rights Reserved.
Question from Marcin Wuu: "And what about dedicated macro lenses? Aren't they supposed to be excellent when it comes to sharpness, contrast and field curvature?"
Ctein replies: Depends on the lens. Some of them are really excellent—Pierce [Bill Pierce, master printer and former "Nuts and Bolts" columnist for the Digital Journalist, known universally to his friends by his surname only —Ed.] reported to me that the classic 55mm Micro-Nikkor made a damned good enlarging lens, in fact.
But many aren't. In fact "macro" is frequently invoked by lens manufacturers to mean "Anything we make that'll focus really close." Calling a lens a macro doesn't tell you any more about its quality than labeling something an "enlarging lens."
Unfortunately, while I have tested almost every credible enlarging lens ever made, I have not done the same for macros. So I can't tell you which ones in current production (if any) are really suitable and which aren't.
Featured Comment by Pierre Smith: "I must admit I have tried pushing this to the limit after my Coolscan failed. As a Macro equipment junkie I assembled a Wild camera stand for Microscopes. Leica Visoflex bellows, and 65mm Elmar. The negatives are held in a Pentax filmholder attached to a Zeiss microscope XY drive. Focusing is by a hydraulic Z drive designed for micron focusing movements. I have also used a Zeiss Luminar 65mm, and Schneider 50mm Macro and 80mm Componon lenses. Photoshop is used to stitch 4x10MP files. this resolves grain on Rollei ATP1.1 with very sharp dust particles.
"The light source is diffused to minimise scratches. I have posted some results on the Leica forum. No unsharp masking required, and it results in the smooth high resolution I prefer."
Featured Comment by Barry Wheeler: "The ASMP website of Digital Photography Best Practices has a nice page on camera scanning and links to a .pdf paper by Peter Krogh with more specific advice. I think it is a good starting point for many photographers. Here at the Library of Congress we've digitized tens of thousands of photographs, including from the original FSA negatives, using Sinar and PhaseOne and Aptus camera backs on a variety of commercial and specialized camera bodies and copy stands. While most individual photographers cannot afford our setup, they can get high quality results using Ctein's approach."
[F. Barry Wheeler is Digital Projects Coordinator at the Library of Congress in Washington, D.C. —Ed.]
