This week's column by Ctein
Those of you who've been following my peripatetic photographic exploits know that my computer of choice has been a 15-inch MacBook Pro, now of advanced age in computer years. It's allowed me to do the same kind of extensive and serious photographic editing, adjustment, and manipulation that I would do at home. With the addition of a first-generation iPad, I could even work on a portable studio quality monitor, which was exceedingly difficult to come by just a few years back. (Today, a retina-screen-equipped MacBook will provide that quality of display.)
What I've discovered, though, is that while it's awfully cool to be able to do fullbore image work on the road, I hardly ever do. Simply put, I don't have enough time when I'm traveling. I barely find time to do a serious edit on the photographs I've made. At most, I'll set up some ACR conversion adjustments for when I get home and am ready to start the seriously-time-consuming work in Photoshop.
While I most definitely needed that studio quality display, 90% of the computing power (and storage and memory and weight, etc.) of my laptop proves to be wasted on my away-from-home photographic work. This has started me pondering how much of this I could accomplish on my iPad. It's one of the reasons I sprang for the 128 GB model this last time around and also bought the SD card reader
(a.k.a. Camera Connection Kit).
My trip to Minneapolis in January overlapped one of the Chippawa Valley Roller Girls' matches, of which I have written previously. DDB and I went out to photograph the match. He's been doing this regularly, of course, and has gotten absurdly adept at putting together instant slideshows of the matches for the Girls to see at the after-match party.
Okay, not exactly instant, but it seems that way to me. He has lots of experience very quickly editing event photography on his laptop for posting to websites or creating presentations. He's got 100 times as much experience at this as I do and he's about 1,000 times faster. That's not hyperbole; his turnaround time is measured in minutes to hours; mine is usually months.
Last year I tried putting together a slideshow of my photographs on the MacBook Pro for an after-match party. It was pretty much a fail. My workflow and my machine just weren't up to the task. By the time my laptop could import 500–1000 photographs and bring them up for me to edit, an hour had passed (DDB's laptop is many times faster). I finally punted and just let Preview cycle through the JPEGs from the RAW files on the SD card, unedited and unsorted. The Girls were happy enough, but it wasn't professional and it sure didn't satisfy me.
Now, that's with my normal workflow. If I put some serious thought and effort into the problem, I likely could have worked out a new workflow that would demand substantially less from my computer and from me. But, for something I was doing only once or twice a year, it wasn't high on my list to get around to that.
Come last month, I still hadn't gotten around to that. Three days before the match, though, I started noodling around with the Connection Kit. I wanted to show my Olympus's cold-weather tests to Dave Polaschek, who I was having lunch with less than an hour later. What better way than to load them into the iPad?
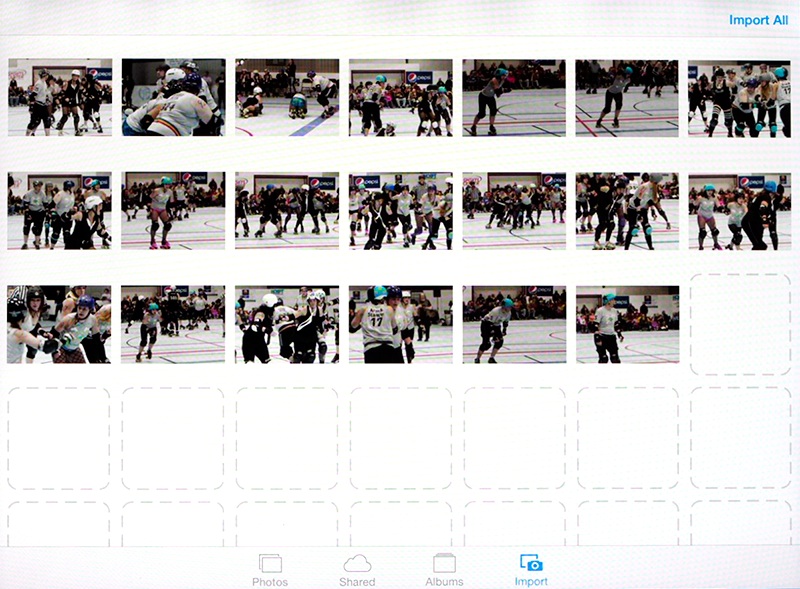 Fig. 1. Photos, an app that's part of iOS, reads the RAW files from my Olympus via the Camera Connection Kit and displays thumbnails for me to select from.
For this first attempt, I went the very dumbest (minimal learning curve) route and used Photos, the app bundled into iOS 7. It took only 0.8 sec per photograph to load the previews from the SD card (figure 1) and just twice that long to import the full RAW file. It was a matter of minutes to get everything from the camera into the iPad. And I started to think, maybe this was the answer to my roller derby slideshow problem.
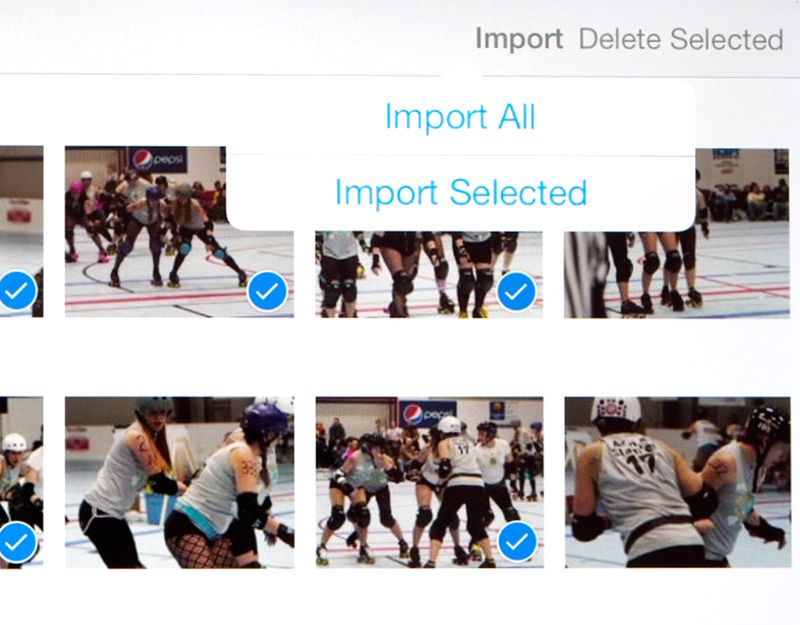 Fig. 2. Once I've selected the photographs I want to import by tapping on the thumbnails, "Import Selected" pulls the RAW files into the iPad.
Not having the time nor inclination to climb a particularly steep learning curve nor throw money at the problem in the following three days, I continued on the simplest and dumbest path. That Saturday evening, post-match, found DDB and I sitting in the after-party bar, him with his laptop and me with my iPad. I had some 500 photographs to work through. As Photos was loading the thumbnails, I started going through them selecting the ones I wanted to import to the iPad (figure 2). Those one-inch thumbnails weren't clear enough to do a critical edit on, but they were good enough for weeding out the obvious failures. A third of the photographs went away that way.
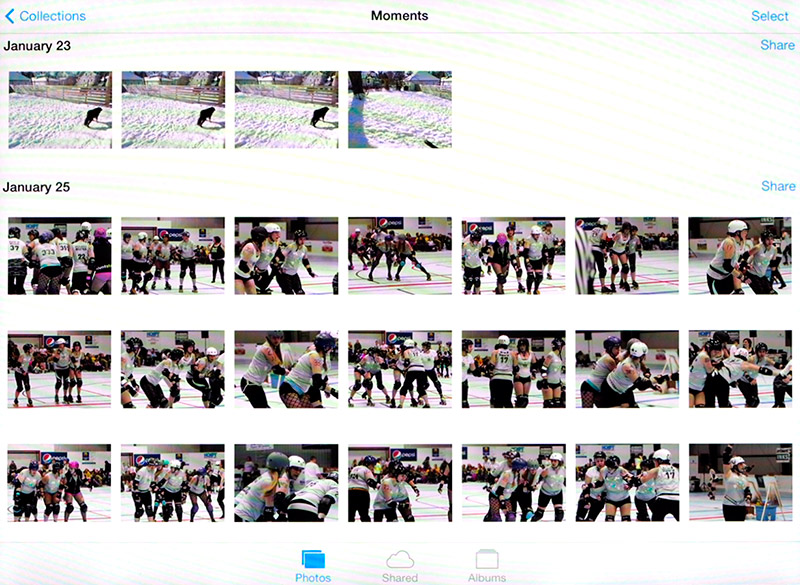 Fig. 3. The "Photos" screen in the Photos app shows the photographs I've imported, sorted by date. Tapping on one of those photos brings up
the editing screen.
 Fig. 4. The editing screen shows me a full-screen rendering that lets me make my final selections. Tapping the trashcan icon (barely visible here in light blue) in the lower right corner deletes the photograph.
When I was finished making my choices, I tapped "Import Selected" and returned to the "photos" screen (figure 3). Importing continued in the background as the selected photos appeared as thumbnails on this screen. I clicked the first thumbnail and a full-screen version popped up (figure 4). Now I could see what the photograph really looked like. If I liked what I saw I swiped sideways with my finger and brought up the next photo. If I didn't I tapped the trashcan icon in the corner and the photograph went away.
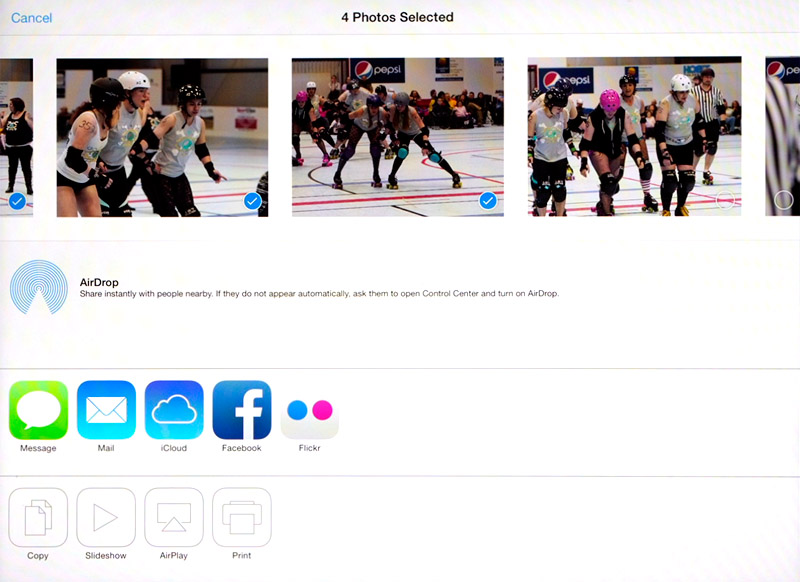 Fig. 5. The export screen is where I select which photos will go into the slideshow.
When I was done with that I had about 250 photographs left out of the original 500. I tapped the export icon in the lower left corner of the screen and that brought up figure 5. I tapped each of those 250 photographs to select it, a lot of repetitive tapping. There may very well have been a way to batch-select, but as I said, I didn't do any homework. It didn't really take all that long.
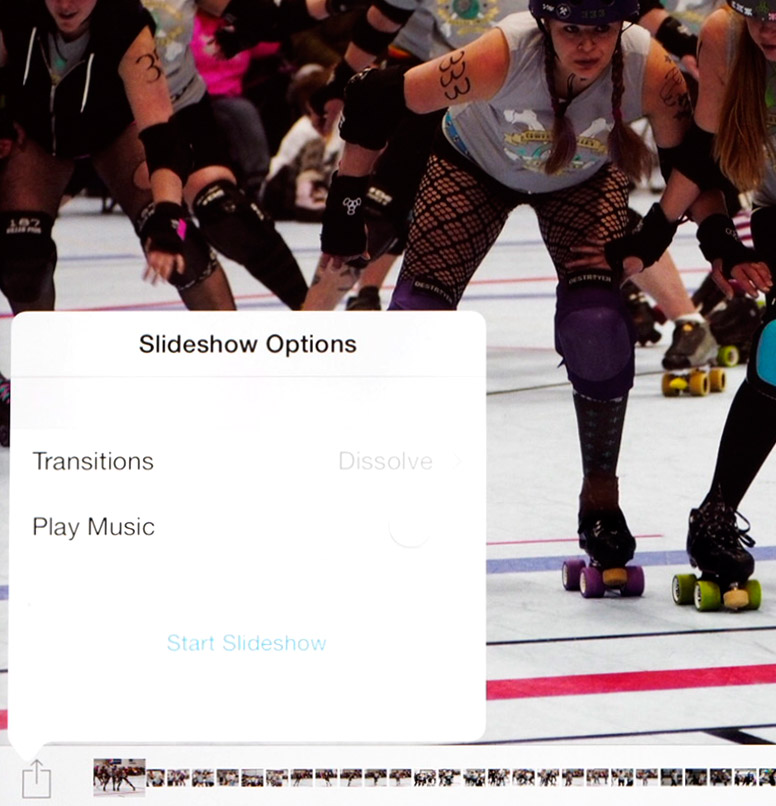 Fig. 6. Tapping the slideshow button on the export screen brings up the slideshow options and the button to start running the slideshow.
Now I had my slideshow. I tapped the slideshow button at lower screen left, kept the "Slideshow Options" at the defaults (figure 6), and tapped "Start Slideshow." There it was! I propped the iPad up on its smart-cover stand and let it run.
The whole job took me just about an hour from start to finish. I actually beat DDB by maybe 15 minutes (of course, when he was done, his edit was more polished and sophisticated than mine).
I'm not remotely suggesting this was the best possible way to create a slideshow on the iPad. In fact, since then I've downloaded iPhoto (now a free program). It's a lot more flexible than Photos with a lot more controls and editing capability, and it gives me more control over the slideshow, e.g., whether or not it runs continuously on a repeat cycle and how long each photograph is up for. There are likely even better tools out there—no doubt readers will suggest some. The important thing, though, is that it worked! Quickly, and with little effort on my part, I was able to learn how to accomplish a (self-imposed) assignment that previously I'd been trying to do much less well on my laptop.
Photos and iPhoto have an important limitation—although they understand RAW files, all they are displaying is the attached JPEG. That's entirely good enough for a slideshow like this and it's sufficient for a first, crude editing pass on my more serious work. It doesn't let me see the full quality or tonal range in the RAW photographs, let alone usefully manipulate it. Two apps that will work on RAW data are PiRAWnha and PhotoRaw. I plan to look into them but haven't tried either out, yet. I solicit comments from any readers who have used either of these as well as suggestions for other RAW-processing apps for the iPad.
There's still too much stuff I do while traveling, like writing and e-mail, that I haven't figured out how to do efficiently on an iPad. Yet. But, depending on how those RAW processing apps work out for me, I may pretty quickly find myself doing almost no photo processing on my laptop while traveling. It's likely I'll wind up buying one more laptop—a MacBook Pro Retina, natch. It won't surprise me if that turns out to be my last one.
Or...maybe it'll turn out that I give up the desktop machine and run solely with a laptop at home. That whole convergence business I wrote about a few columns back. What I do know, though, is that the iPad is continually encouraging me to reevaluate how I do things computerish.
Ctein
Columnist Ctein usually appears on TOP on Wednesdays.
©2014 by Ctein, all rights reserved
Original contents copyright 2014 by Michael C. Johnston and/or the bylined author. All Rights Reserved. Links in this post may be to our affiliates; sales through affiliate links may benefit this site.
(To see all the comments, click on the "Comments" link below.)
Featured Comments from:
Ben: "Simple and nice workflow...thanks!
"For writing and email on and iPad, I like the Incase Origami Workstation, which is basically a case for the Apple bluetooth keyboard, but it folds open to support the iPad above the keyboard. I don't mind the Apple keyboard and I much prefer having a case for the keyboard than an iPad keyboard case, as it offers me a lot more flexibility. I've found I can do a lot of email correspondence with this setup. It even works on an airplane by writing emails, saving them as drafts, then just sending when I have an Internet connection again.
"I did give up my desktop; I balked at the new Mac Pro, so I sold my Macbook Air and bought a 15" Macbook Pro with retina display, and I've been very happy with my new setup. I can do a lot on my iPad mini, and everything else on the retina Pro. Perfect!!!"
Huw Morgan: "Sounds pretty painful compared to getting the right tools for the job (e.g. Surface Pro and Lightroom). Kinda like using a hammer and nails to assemble Ikea furniture."
Chris Exum: "Your article has changed my workflow. I just successfully imported my X-Pro1 raw file into iPhoto, which did not work the last time I tried. I am now able to import a Fuji RAW file into the Photosmith app (I previously had to shoot RAW + JPEG for this to work) from the iPhoto album. I use Photosmith to tag and rate my photos. Photosmith then syncs my photos to Lightroom along with my tags, ratings, and IPTC info.
"The above workflow is my 'on the road' workflow. Then when I get home, I use LR/PS for editing, using my rating system to identify the photos that I actually want to edit. If I want to do any editing on the iPad, I have been using Snapseed. It's easy, fast, and does a respectable job. Not up to pro standards, but makes a decent image to upload to facebook or email to friends/family. Thanks for making me rethink my workflow!"
Alun J. Carr: "n addition to iPhoto, you really should install Snapseed. This was developed by Nik Software (the Viveza and Silver FX plugin, and Nikon's Capture NX people), who also made desktop (Mac and Windows) versions. Nik was swallowed by Google who killed the desktop versions, and made the iOS and Android versions free. Snapseed is an amazing piece of software, using Nik's U-Point technology for localised adjustments in an incredibly tactile fashion on the iPad; in fact, there are aspects of U-Point in Snapseed that are far superior to the implementation in the plugins for Aperture/Photoshop/Lightroom. Working with Snapseed on an iPad is such an immersive, tactile experience that it feels like an artist working in oil or acrylics (I have experience of acrylics, but not oils).
"Anyhow, it won't break the bank to try it."

